
Building a Case Chronology in Prism from Decision 910/9714/22
· Prism
Build the chronology in Prism so dates, events, and documents stay connected to the matter and project. A real decision provides a table that lets a colleague check an event and continue the research.
1. Add the source
Send the link to Prism. State the question the chronology supports: matching materials and follow-up work. Ask for each entry to remain connected to a specific paragraph.
Build a chronology from the decision. Columns: date, event, document, paragraph, and next check. Distinguish document dates from event dates. Include a short material list for the project.
2. Check the structure against real entries
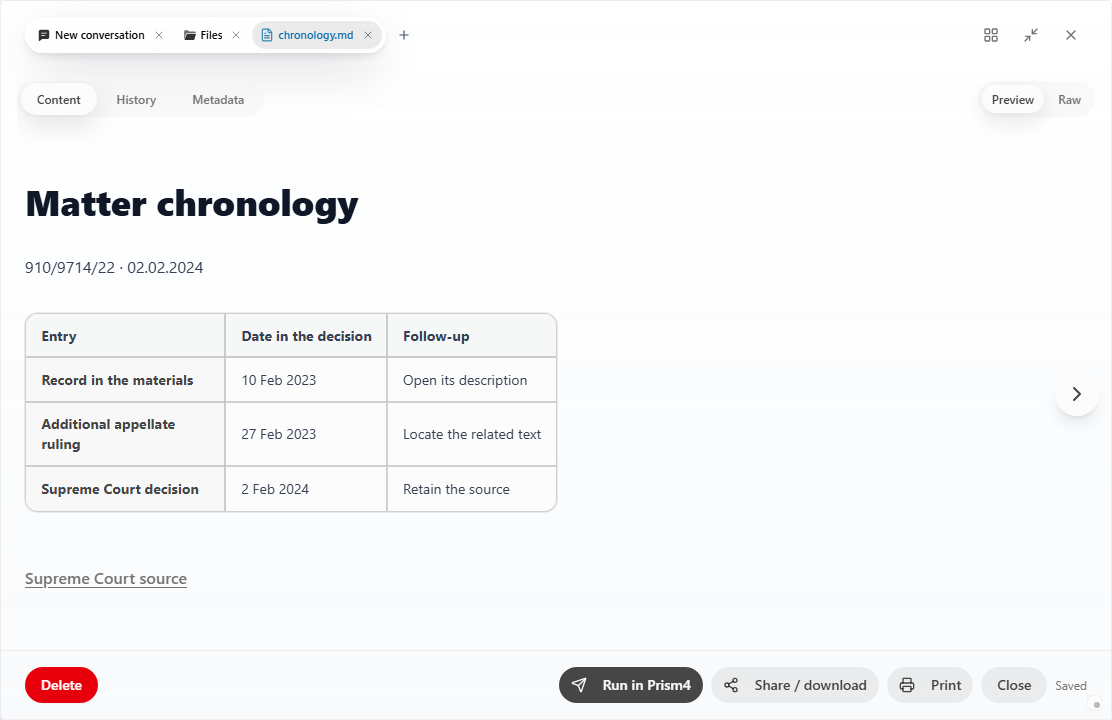
| Entry | Date in the decision | Follow-up |
|---|---|---|
| Record in the materials | 10 Feb 2023 | Open its description |
| Additional appellate ruling | 27 Feb 2023 | Locate the related text |
| Supreme Court decision | 2 Feb 2024 | Retain the source |
Ask the next pass for exact paragraphs and links. Each event becomes a route to the passage describing it.
3. Add your files
Attach a record, correspondence, or other documents. Ask: “Add events from these files and retain the source for every row.” Group entries by document when the collection includes many messages.
For a colleague’s review, filter to one period or event. The result is a compact reading list with the links needed for that discussion.
4. Retain the result
In Prism, the chronology supports the next question, document, and team task. Export to Excel and add the table to the project. Create tasks for rows requiring another file or clarification. Hand over the chronology with those open actions. Continue organizing the collection in Prism projects.